This document explains the Event Settings module on the Ticmint Support Portal in a clear, step-by-step manner. Event Settings allow organisers to control event discovery, authentication, ticket behaviour, sale timelines, and invoice details.
Step 1: Log in to the Ticmint Dashboard

Sign in to the Ticmint Partner Dashboard using your registered business email.
After logging in, you will land on the Dashboard home screen.
From here, you can manage events, orders, marketing, and settings.
Step 2: Navigate to Events

From the left-side menu, click on Event.
Select All Events to view your event list.
Locate the event you want to configure.
Each event card shows the event date, title, ticket sales, revenue, and publication status.
Step 3: Open Edit Event

Click on the three-dot (⋮) menu next to the event.
Select Edit.
This opens the Edit Event panel, where all event configurations are available.
Step 4: Access Event Settings

In the left panel under More, click on Event Settings.
The Event Settings page will open with multiple configuration sections.
These settings help you control how your event behaves for users and attendees.
Step 5: Categorisation & Tags
Category
Select an existing category (e.g., Sports, Music, Conference).
Categories help improve event discoverability on the platform.
You can also create a new category if required.
Tags
Add relevant tags related to your event.
Tags improve:
Search results
Filtering
Personalised recommendations
Example tags: Sports Day, Alumni Event, Family Athletics
Step 6: Advanced Ticket Options
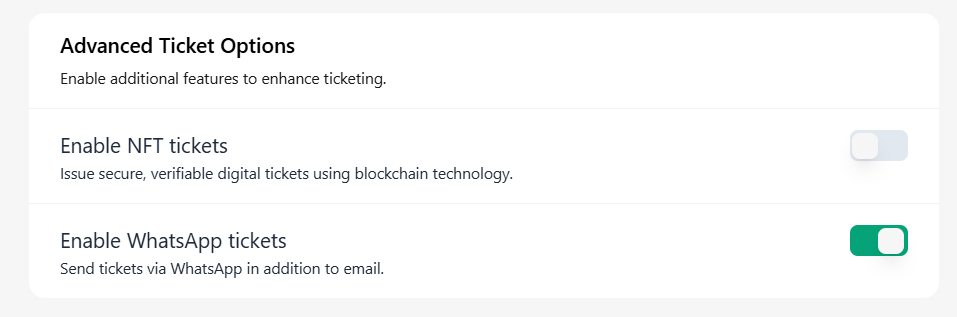
This section enables additional ticketing features.
Enable NFT Tickets
Allows issuing blockchain-based digital tickets.
Useful for secure and verifiable ticket ownership.
Enable WhatsApp Tickets
Sends tickets directly to attendees via WhatsApp.
Tickets are also sent via email.
Recommended for better delivery and attendee convenience.
Step 7: RSVP Button Visibility Settings
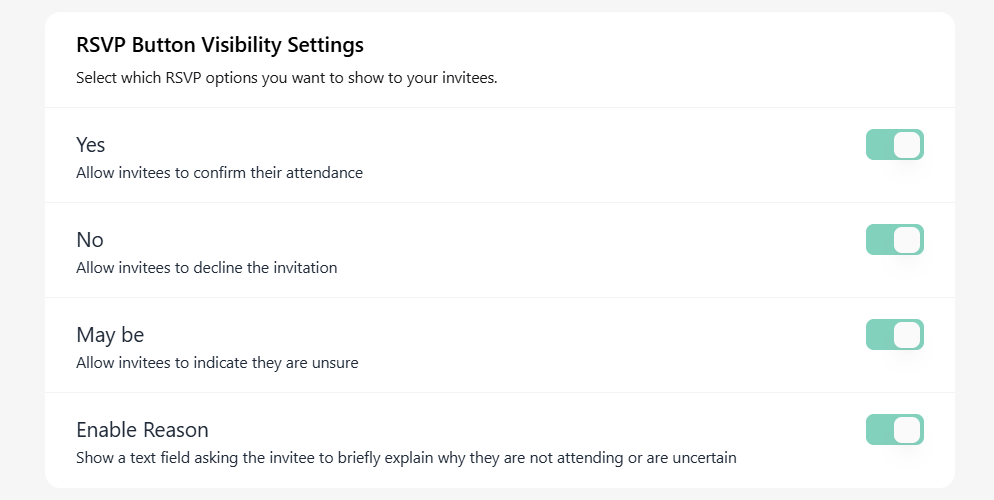
Control how invitees respond to your event.
Yes – Allow invitees to confirm attendance
No – Allow invitees to decline the invitation
May Be – Allow invitees to mark themselves as unsure
Enable Reason – Displays a text field for invitees to explain why they are declining or unsure
These options are useful for invitation-based or private events.
Step 8: Authentication Settings

Choose when users are required to log in:
Allow Guest Checkout – Users can book without logging in
Ask for Login Before Browsing Tickets – Login required to view tickets
Ask for Login After Ticket Selection – Login required after selecting tickets
Ask for Login Before Payment – Login required at the payment step
Select the option that best fits your event’s security and data needs.
Step 9: Set Sale Dates
Control when tickets are available for purchase.
Click Set Sale Dates.
Define:
Sale start date & time
Sale end date & time
Ticket sales will automatically open and close based on these settings.
Step 10: Invoice Attributes
Invoice attributes allow you to display custom information on invoices.
Invoice Code
Add a custom invoice code or reference.
Invoice Attributes
Add custom attribute–value pairs, such as:
GST Number
VAT Number
Company Registration ID
These details appear on attendee invoices and are useful for accounting and compliance.
Step 11: Save Changes
Click Save to apply your Event Settings.
Use Cancel if you do not want to apply changes.
⚠️ Always save before exiting to avoid losing updates.
Best Practices
Use accurate categories and tags for better reach
Enable WhatsApp tickets to reduce delivery issues
Set sale dates carefully to avoid early or late closures
Add invoice attributes for professional billing
Need Help?
If you face any issues with Event Settings:
Visit the Ticmint Help Centre
Contact Ticmint Support via the support portal
Share your event name and registered email for faster assistance
Was this article helpful?
That’s Great!
Thank you for your feedback
Sorry! We couldn't be helpful
Thank you for your feedback
Feedback sent
We appreciate your effort and will try to fix the article