The Create Event process in Ticmint is designed to be quick and intuitive, guiding organizers through everything from entering event details to publishing and promoting the event. Each step is broken into sections for clarity.
Once logged in, organizers can begin creating an event, progress through each step using the Next button, and review details before publishing. At any point, organizers can save or make edits before making the event live.
Step 1 – Add Your Event Details
Log in to Ticmint
Sign in using your Email or Google account.

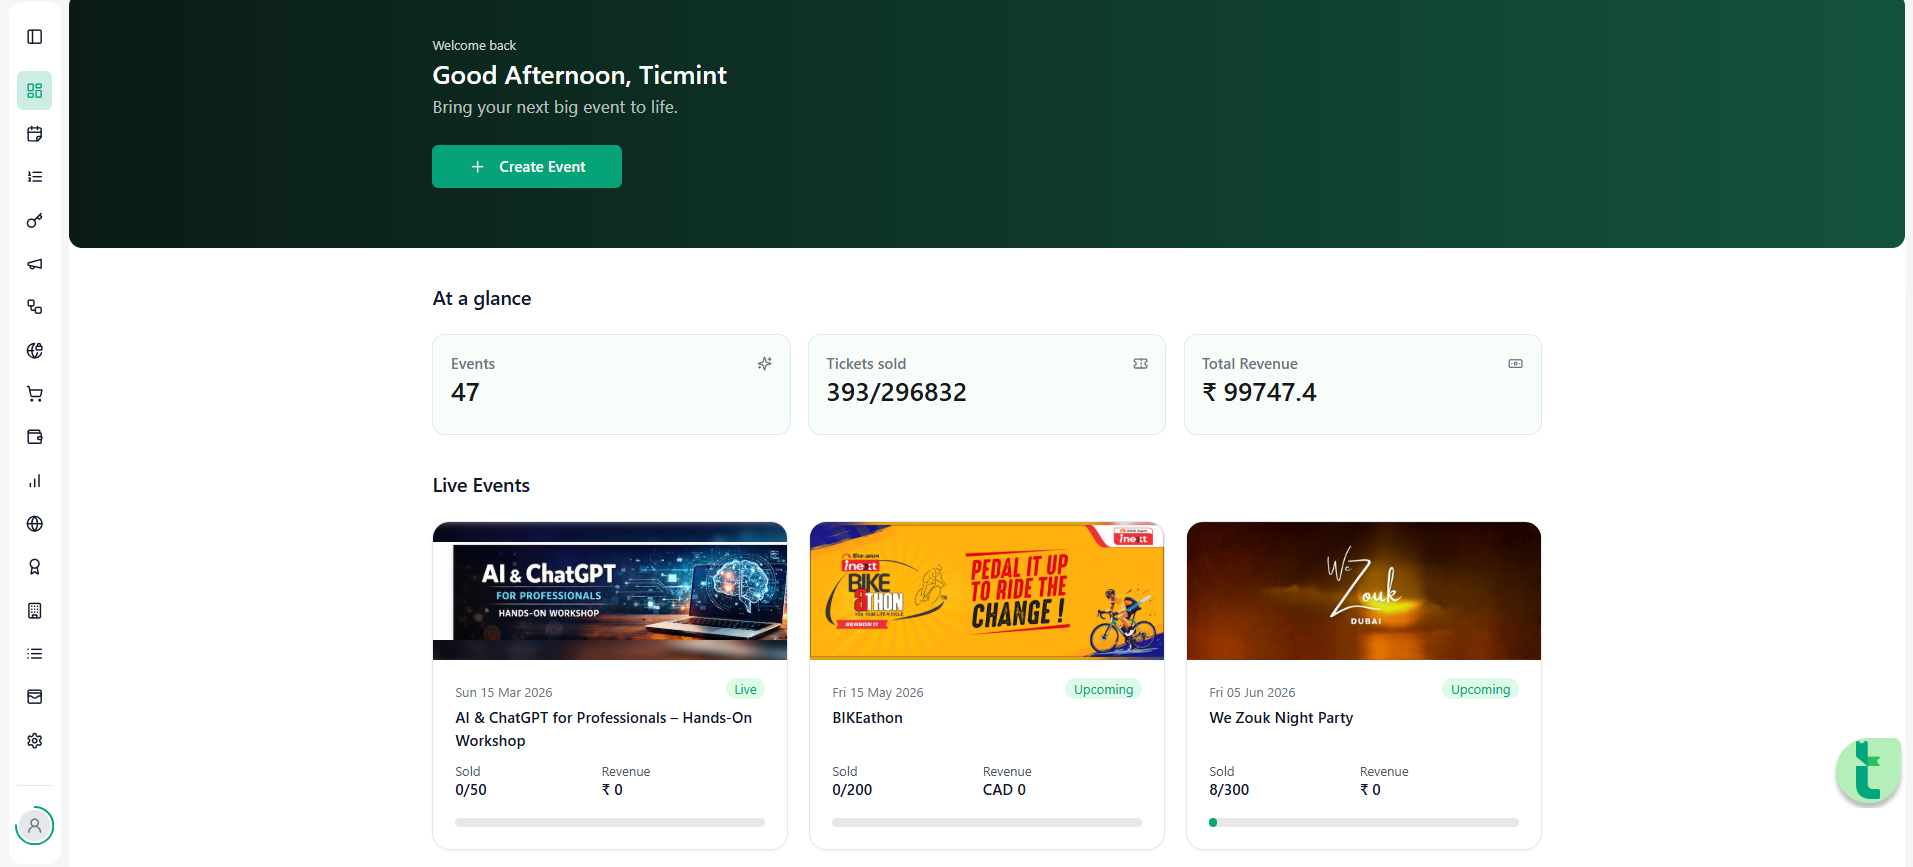
From the dashboard, click Create Event.
Enter Basic Event Info
Cover Image: Upload an event banner.
Recommended dimensions:
Banner image (Web): 1920 x 738 px
Banner image (Mobile): 1000 x 1000 px
Tile image (Listing Page): 1700 x 1000 px

Event Name: Choose a clear, catchy title (e.g., Copa Del Rey).
Date, Time & Timezone: Select your start and end date/time. Ticmint will automatically detect and apply your timezone.
Choose Event Format & Location
Physical Event: Select Venue Mode and search for the venue address, which will be displayed on a map for attendees.
Online Event: Select Online Mode and paste your link (Zoom, Google Meet, etc.).

Add Event Description
Provide an engaging summary that highlights what’s happening, the target audience, and any special instructions

Tip: Use images or videos to make your event page more visually appealing.
Once all details are filled in, click Next: Sections & Tickets.
Step 2 – Set Up Sections & Tickets
Ticmint provides flexible ticketing options so you can create multiple sections for different audience groups.
Create Sections
Click Add Section.
Enter a Section Name (e.g., General Pass) (Optional).
Set Capacity (e.g., 200 seats).
(Optional) Upload a section image.

Add Ticket Types
Within each section, click Add Ticket Type.
Provide details:
Name (e.g., General Pass)
- Ticket Description
Limit (cannot exceed section capacity)
Price
Visibility: Choose Visible (available for sale) or keep hidden for later.

The Advanced Settings panel allows organizers to fine-tune ticket options for additional flexibility and control. Below are the available fields and their descriptions:
Tax:
Select an existing tax from the available options or create a new tax to apply specific rates and rules.
Use the drop-down to configure tax settings for the ticket.
Strikethrough Price:
Enter an original or previous price to display as struck out, highlighting any discount or special offer.
Minimum Quantity:
Specify the lowest number of tickets a user can purchase in a single transaction.
Admits per Ticket:
Indicate how many people are admitted with one ticket (e.g., a single ticket allowing entry for a group).
Limit Tickets per User:
Set the maximum number of tickets any individual user can buy for this ticket type.
Selling Channel:
Choose where the ticket will be available for sale (e.g., All, Online Only, Box Office).
Ticket Sale Period:
Define the time frame during which tickets will be available for purchase:
Start date/time: Set the exact date and time ticket sales begin.
End date/time: Specify when ticket sales will close.
These advanced settings provide greater control over pricing, restrictions, and sales management, helping optimize ticket distribution according to your event’s needs.
When complete, click Next: Publish.
Step 3 – Publish & Promote Your Event
Review & Publish

Double-check the following before publishing:
Event name, date/time, and venue
Ticket prices and availability
Capacity limits
Click Publish Event — your event is now live!

Share Your Event
Promote directly from Ticmint:Social Media: Share to WhatsApp, Instagram, Facebook, LinkedIn, and X.
Copy Link or QR Code: Use in flyers, group chats, or newsletters.
Email Invites: Send custom invites directly from your dashboard.
Embed Code: Add an event widget to your website for easy access.

Boost Event Reach
Maximize attendance with built-in marketing tools:WhatsApp marketing campaigns
Email campaigns
Affiliate ticket sales
Promo codes and discounts
Merchandise and add-ons
Ticket upgrades
On-site check-in and validation

Pro Tips for Successful Events
Use a high-quality cover image for strong first impressions.
Create your event early, giving attendees time to register.
Keep details updated — especially links, times, and access instructions.
Try AI-powered Quick Start on your dashboard for faster setup.
Your event is now live and ready to welcome guests!
Was this article helpful?
That’s Great!
Thank you for your feedback
Sorry! We couldn't be helpful
Thank you for your feedback
Feedback sent
We appreciate your effort and will try to fix the article