This document provides a step-by-step guide to editing and customising the Theme module for an existing event on the Ticmint Support Portal. The Theme module allows organisers to control layouts, colours, fonts, buttons, and section styling to align the event page with their brand identity.
Step 1: Log in to the Ticmint Dashboard
Sign in to the Ticmint Dashboard using your registered business email.
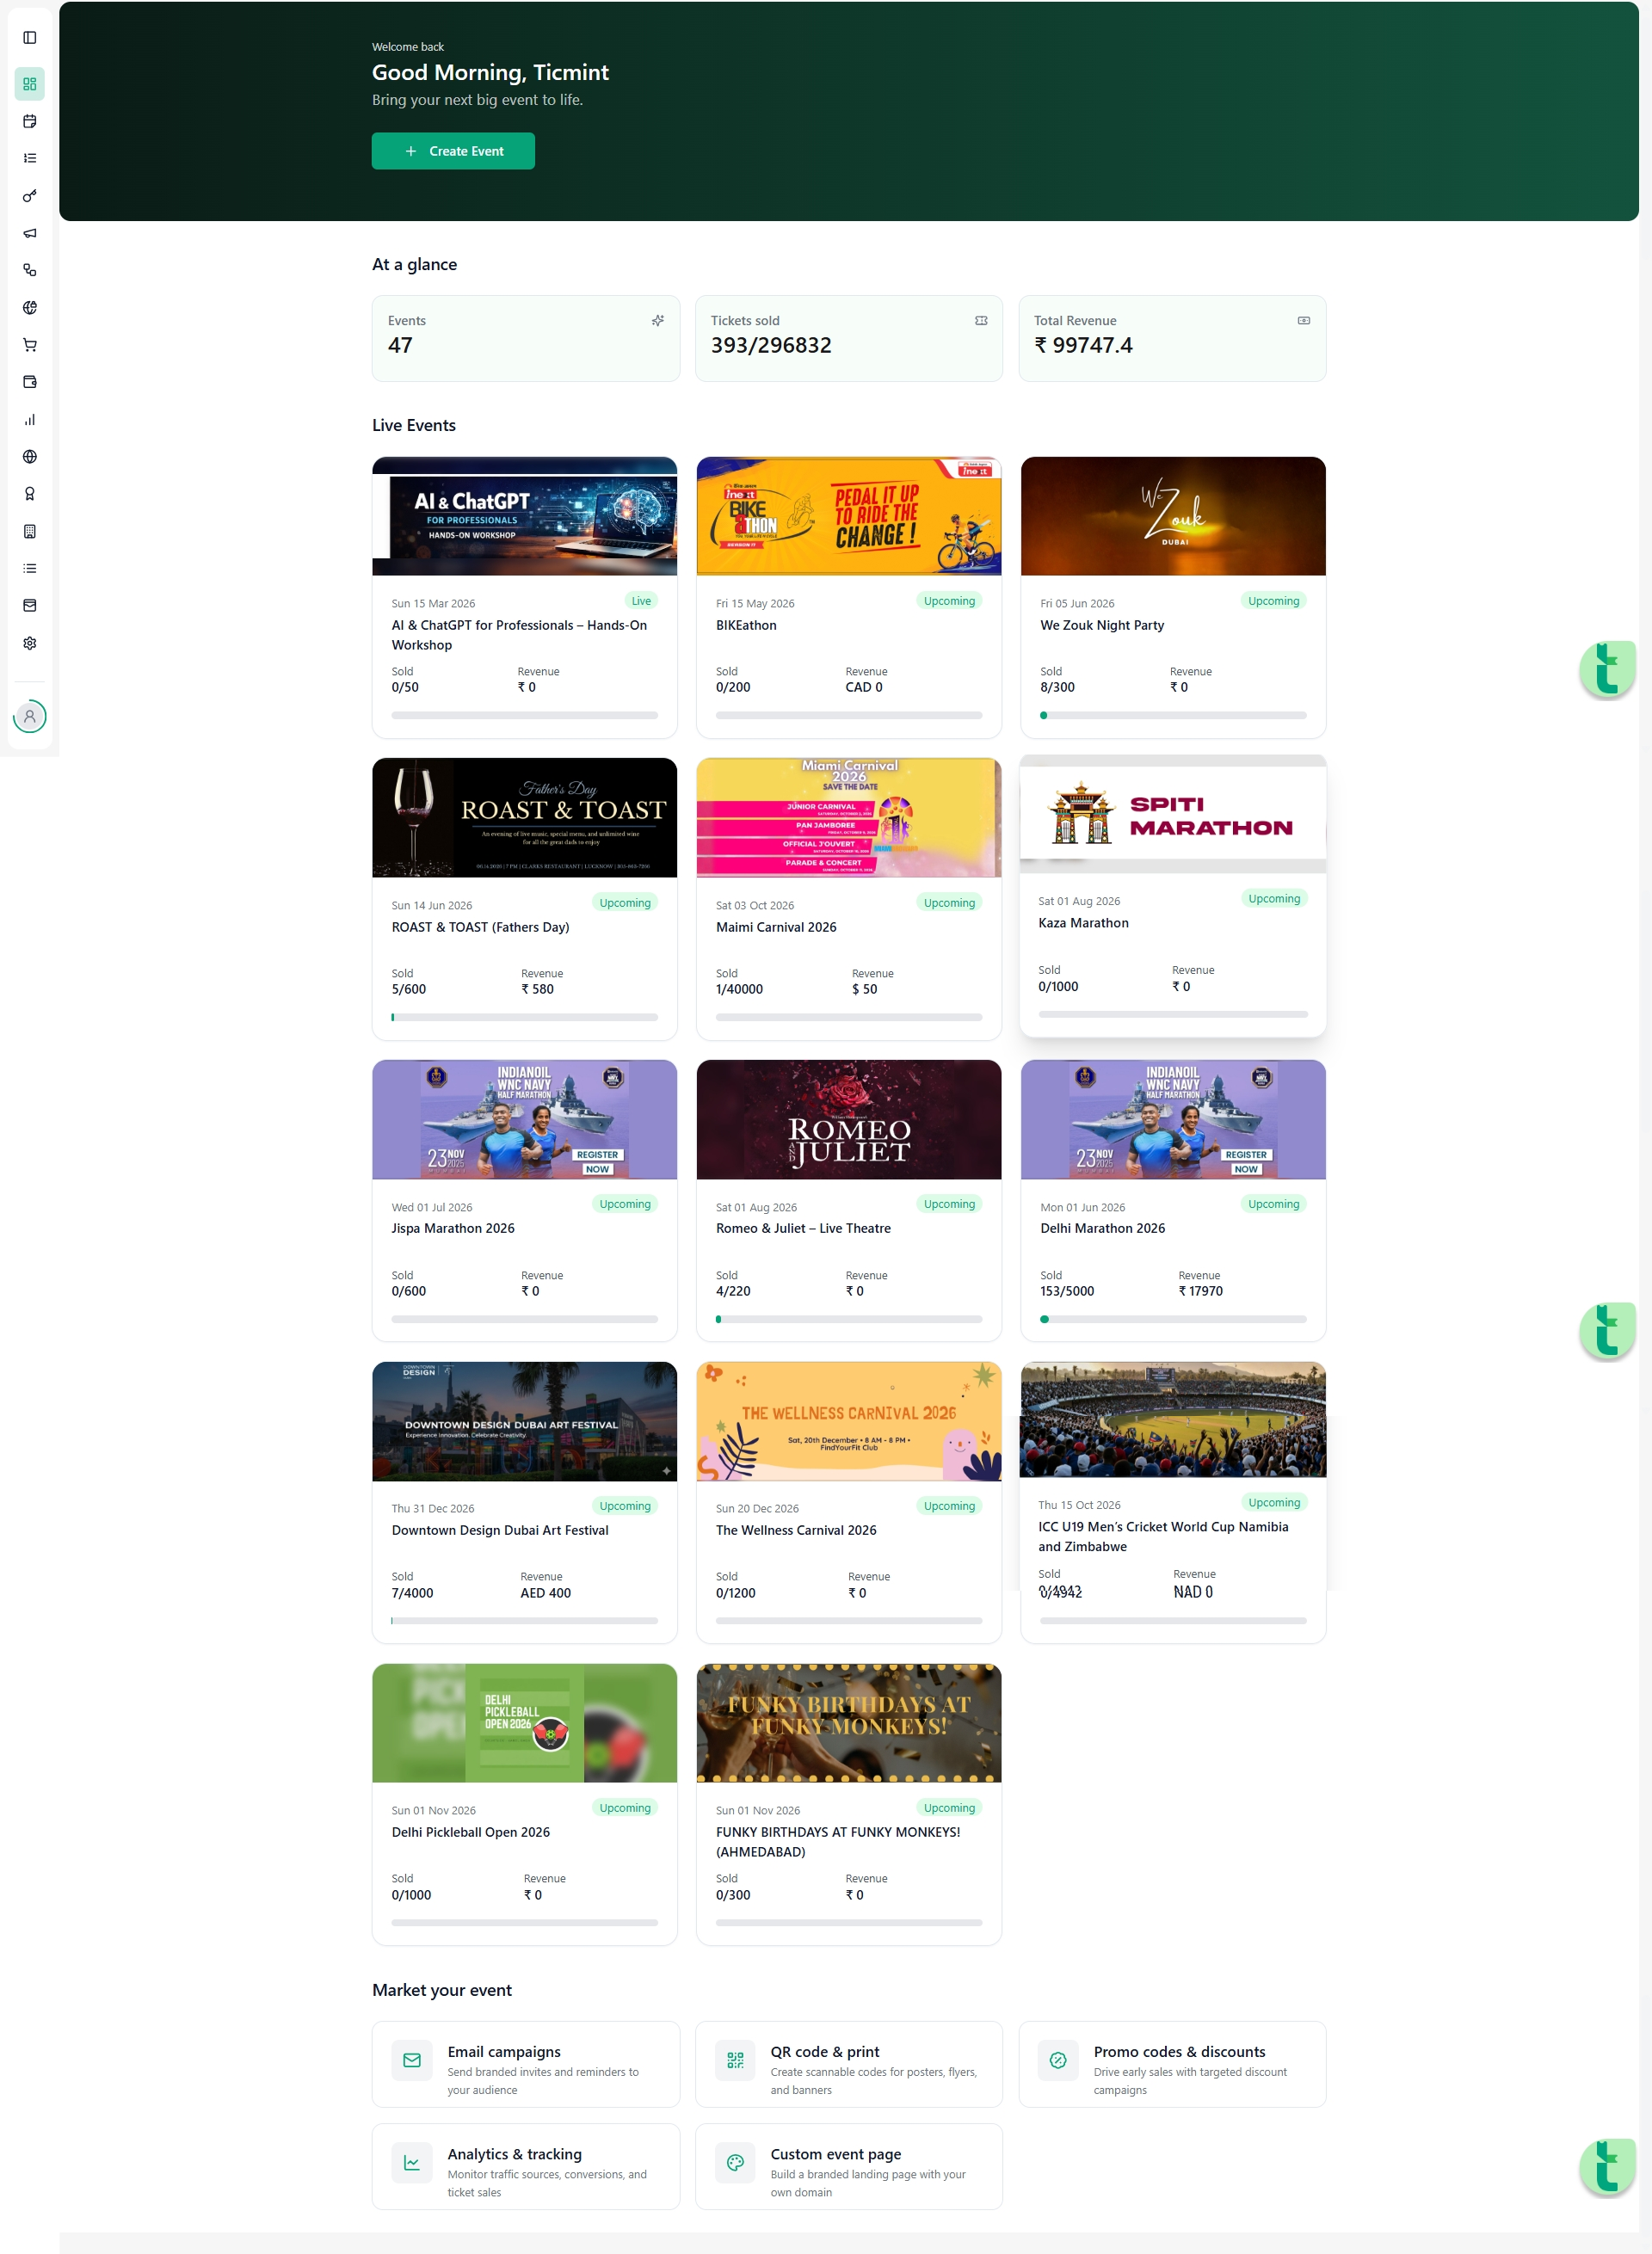
After successful login, you will land on the dashboard home screen.
From here, you can view event summaries, ticket sales, and quick actions.
Step 2: Navigate to Events
From the left-hand navigation menu, click Event.
Select All Events to view all events under your organisation.
Locate the event you want to customise.
Each event row displays the event name, date, tickets sold, revenue, and status.
Step 3: Open the Event Editor
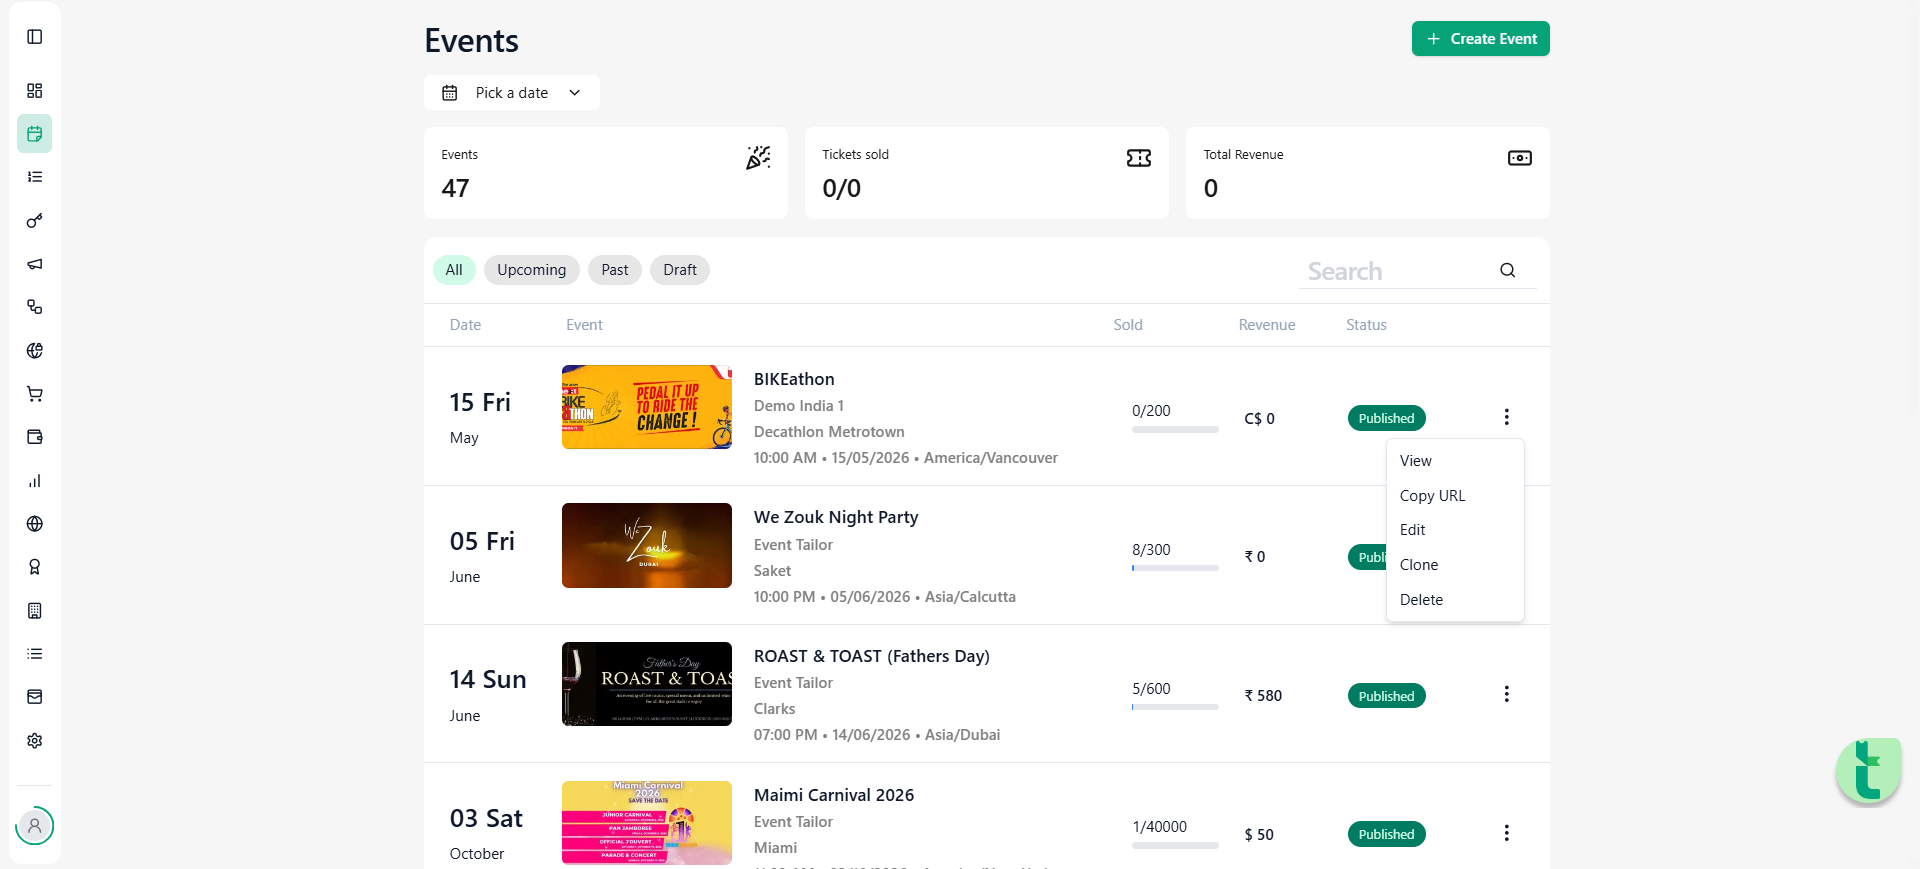
Click the three-dot (⋮) menu next to the selected event.
Select Edit from the dropdown.
This opens the Edit Event screen, where all event configurations are available.
Step 4: Access the Theme Module
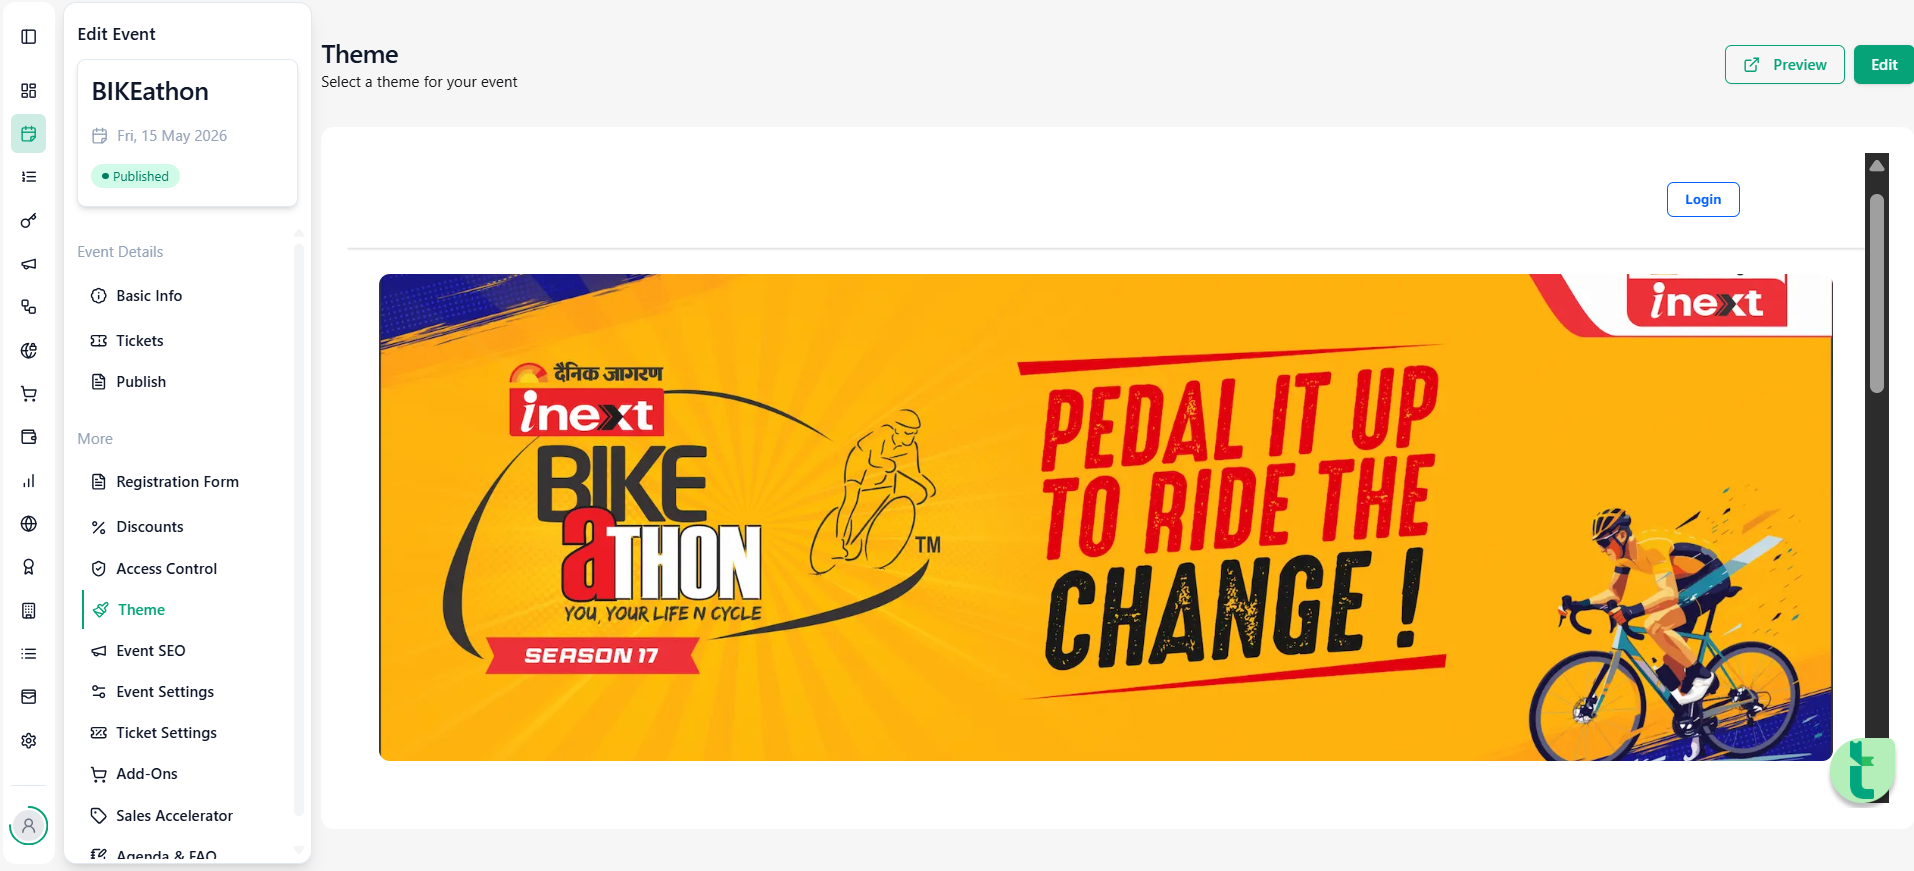
In the left-side panel of the Edit Event screen, scroll to the More section.
Click on Theme.
You will see:
A live preview of your event page
Theme customisation options on the right-hand panel
Step 5: Select a Layout

Under the Layouts section, choose a predefined layout.
Each layout controls the placement of:
Banner
Event details
Ticket section
Description and footer
Click on a layout to apply it instantly to the live preview.
Step 6: Customise Theme Sections
Use the Customise panel to edit individual sections of the event page.
6.1 Header

Set background colour
Upload a logo image
Choose font family, weight, and colour
The header appears at the top of the event page.
6.2 Body
Change the background colour of the main page
Upload a background image or GIF (optional)
This section controls the overall appearance of the content area.
6.3 Button

Edit button text (e.g., Book Now)
Customise button colours
Control button visibility
Buttons are primarily used for ticket purchase or registration actions.
6.4 Title Section
Set background colour for the title area
Adjust event title font, size, weight, and colour
Customise icon box styles (icons, text, colours)
This section highlights key event details such as event name, date, and organiser.
6.5 Details Section
Set background colour for content blocks
Customise section title fonts (family, size, weight, colour)
Customise body text styling
This section includes descriptions, agendas, FAQs, and additional information.
6.6 Footer

Set footer background colour
Upload footer logo (optional)
Configure text colour and social icons
The footer appears at the bottom of the event page and includes branding and legal links.
Step 7: Apply Button Colour Theme
Scroll to the Button Colour Theme section.
Choose from predefined colour combinations for quick styling.
Or enter custom hex colour codes to match your brand guidelines.
All changes reflect instantly in the live preview.
Step 8: Preview Your Event Page
Click the Preview button (top-right).
Review:
Layout structure
Colour contrast and readability
Branding consistency
Ensure the page looks professional on both desktop and mobile views.
Step 9: Save Theme Changes
Once satisfied, click Save.
Your theme settings will be applied to the live event page.
⚠️ Always save before exiting to avoid losing changes.
Best Practices & Tips
Use high-contrast colours for readability
Keep button text clear and action-oriented
Avoid using too many fonts or colours
Always preview changes before publishing
Need Help?
If you face any issues while editing the theme:
Refresh the page and try again
Ensure all required assets are uploaded correctly
Contact Ticmint Support via the support portal
Share your event name and registered email for faster assistance
Was this article helpful?
That’s Great!
Thank you for your feedback
Sorry! We couldn't be helpful
Thank you for your feedback
Feedback sent
We appreciate your effort and will try to fix the article