This guide explains how to create and manage organisations within the Ticmint Admin Dashboard.
1. Access Organisation Management
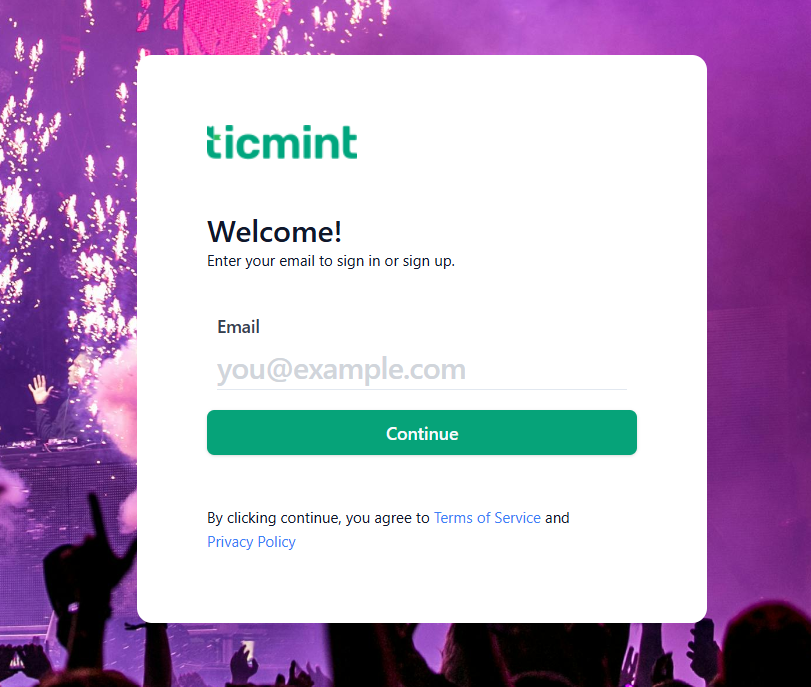
Log in to the Ticmint Admin Dashboard using your administrator credentials.
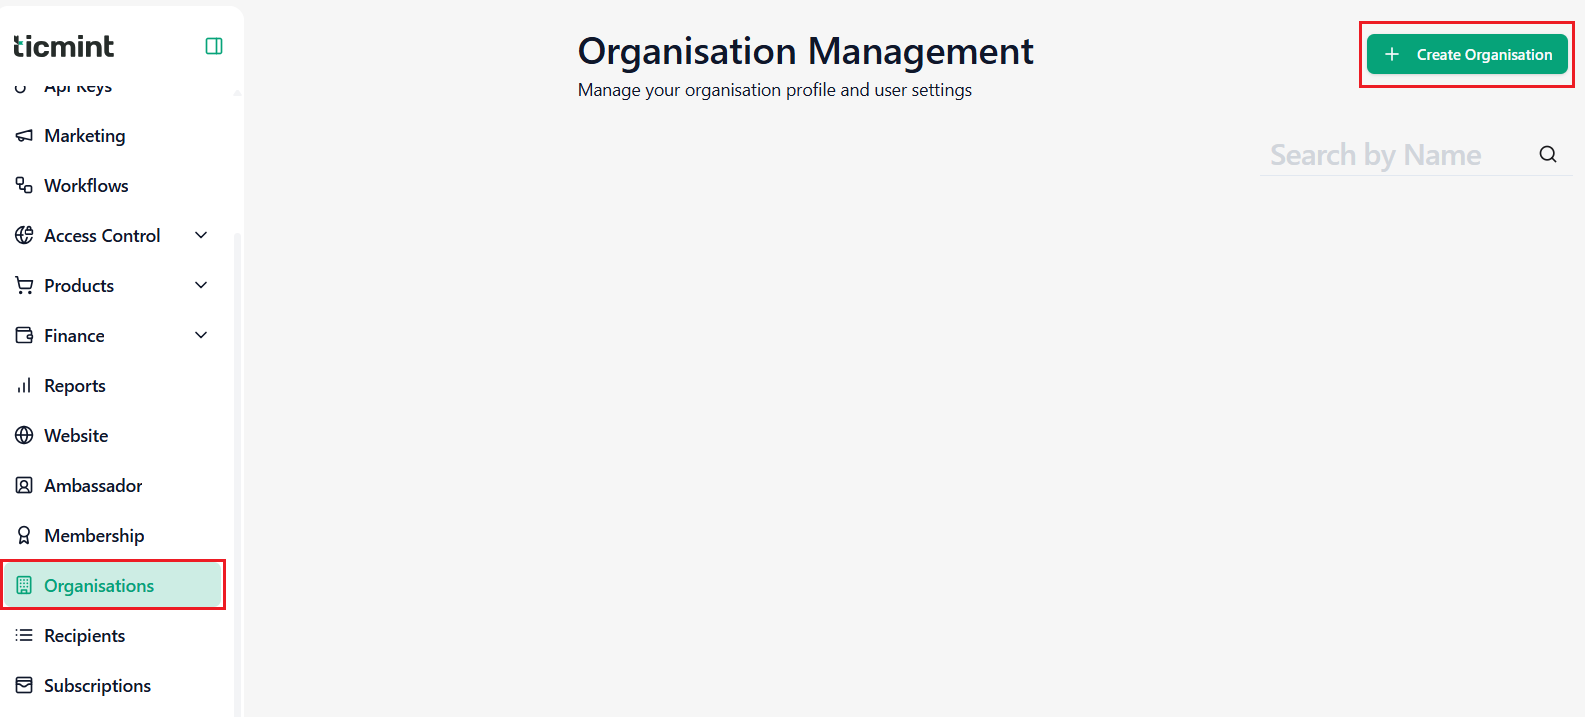
From the left-side navigation menu, click Organisations.
You will be redirected to the Organisation Management section where you can:
View existing organisations
Manage organisation profiles
Configure organisation settings and user access
Click Create Organization.
Complete the organisation details as described below.
3. Organisation Details
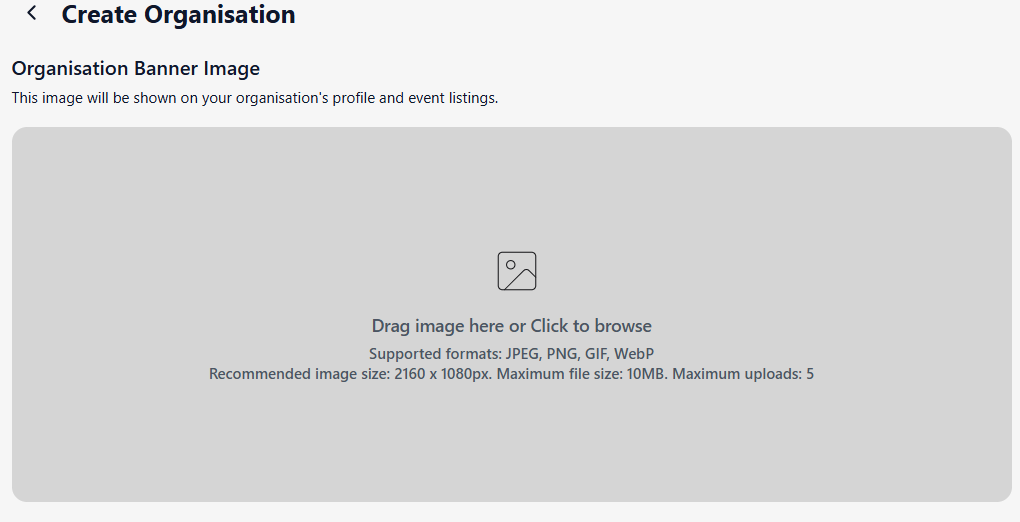
Organisation Banner Image
Upload the organisation banner image.
Purpose:
This image is displayed on:
Organisation profile pages
Event listings associated with the organisation
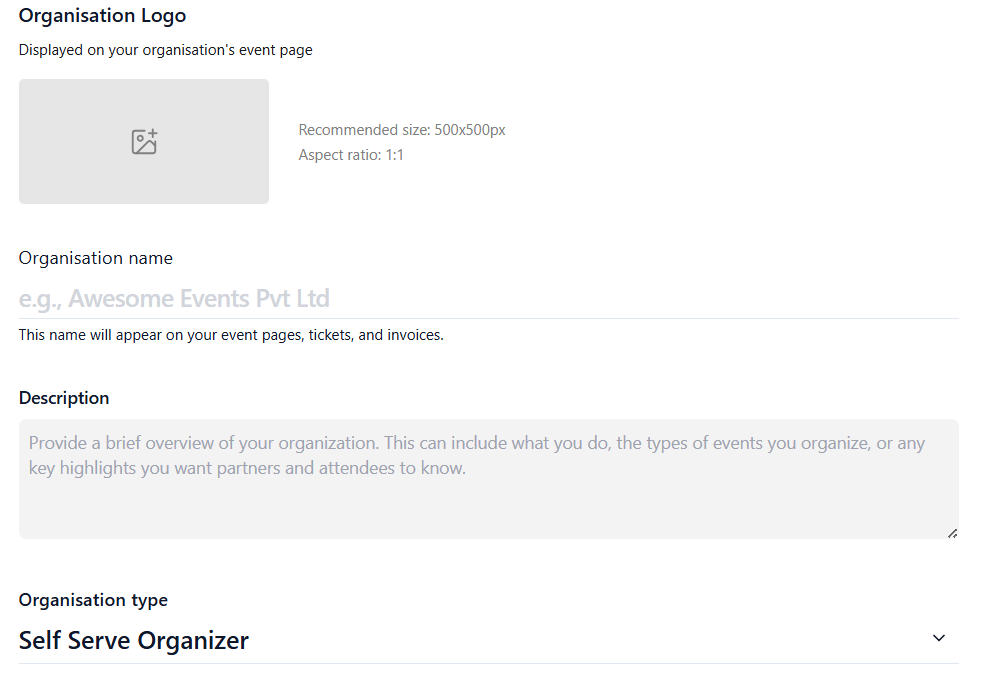
Organisation Logo
Upload the organisation logo.
Purpose:
The logo is displayed on the organisation’s event pages and branding materials.
Organisation Name
Enter the official organisation name.
Organisation Type
Select the appropriate organisation type from the dropdown menu.
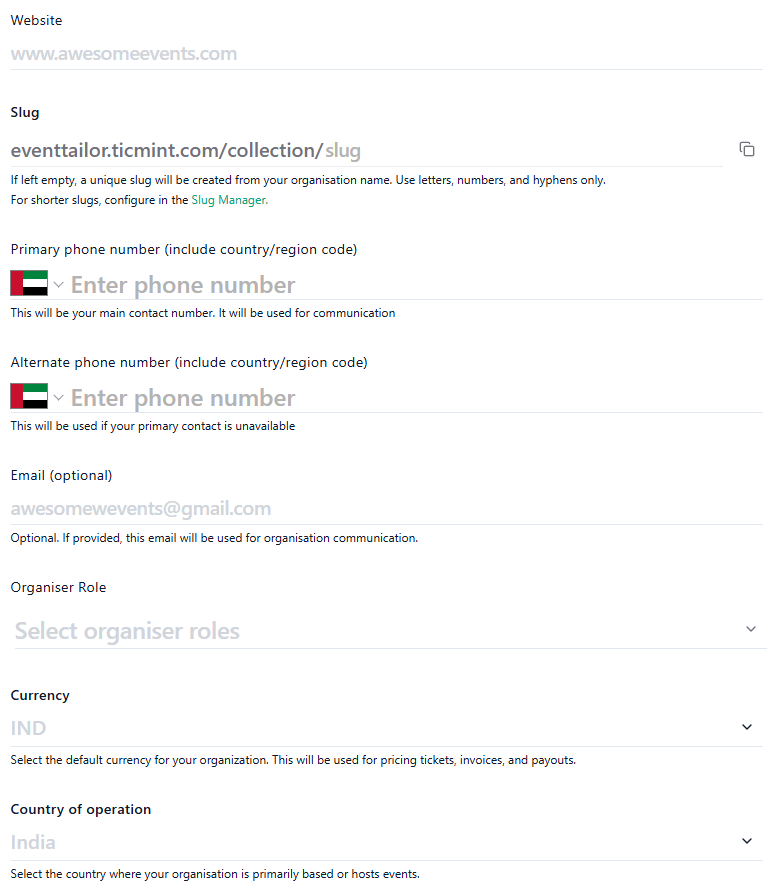
4. Basic Information
Provide the following details:
5. Additional Settings
Show Organisation Details on Invoice
Enable this option if organisation details should appear on customer invoices.
When Enabled:
Organisation name
Contact information
Billing details
will be displayed on generated invoices.
Organisation Data Tracking
Enable this option if you want to track organisation-level analytics and performance data.

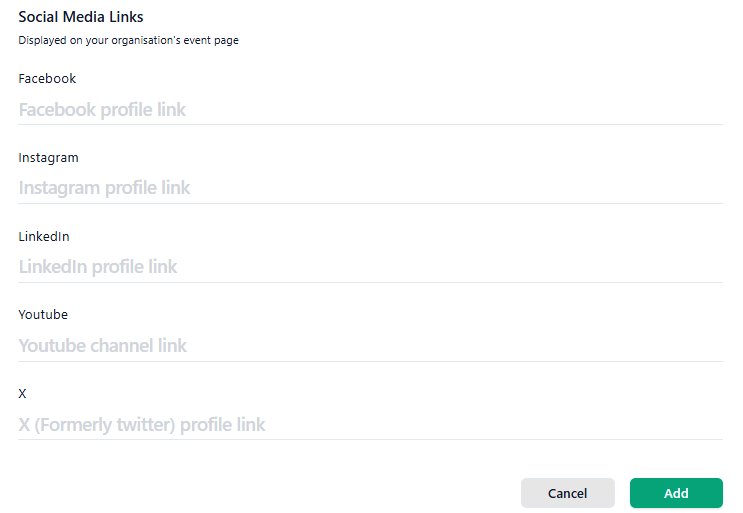
6. Billing Address
Enter the organisation’s billing address information:
Address
City
Zip Code / Postal Code
Country
State
7. Contact Address
If the contact address is the same as the billing address:
✅ Select Use Billing Address as Contact Address
If different, manually enter:
Address
City
Zip Code / Postal Code
Country
State
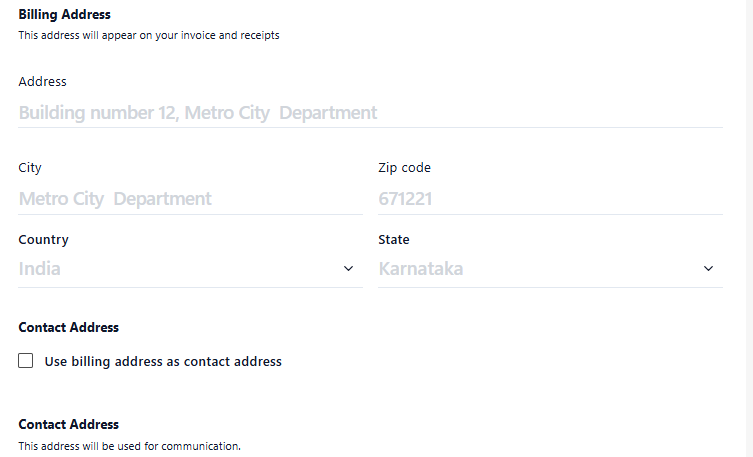
8. Social Media Links
These links are displayed on the organisation’s event pages.
Add the relevant social media URLs:
Facebook
LinkedIn
YouTube
X (Twitter)
9. Save the Organisation
After entering all required information:
Review the details.
Click Add.
The organisation will be created successfully and will be available for managing events, users, and settings within the Ticmint platform.
Organisation Creation Checklist
☐ Upload Organisation Banner Image
☐ Upload Organisation Logo
☐ Enter Organisation Name
☐ Select Organisation Type
☐ Enter Website URL
☐ Enter Slug
☐ Add Primary Phone Number
☐ Add Alternate Phone Number
☐ Enter Email (Optional)
☐ Select Organiser Role
☐ Select Currency
☐ Select Country of Operation
☐ Configure Invoice Visibility
☐ Enable Data Tracking (Optional)
☐ Enter Billing Address
☐ Configure Contact Address
☐ Add Social Media Links
☐ Click Add to Create Organisation
Was this article helpful?
That’s Great!
Thank you for your feedback
Sorry! We couldn't be helpful
Thank you for your feedback
Feedback sent
We appreciate your effort and will try to fix the article